Thursday, August 9, 2012

Emily's Jewelry Box

Last year for Emily's 2nd birthday I had wanted to make her some things for her new big girl room. I made her this pillow and my intentions were to make a little jewelry box that would be complimentary. The pillow I finished in time for her birthday...the jewelry box not so much!

I wanted to stencil it with a cute little paisley stencil, but either I super stink at stencils or the quality of the one I had purchased for this project was very bad. Then I ended up sanding and re-painting the thing about three times. I finally decided to stripe it. When I got started though (almost a year later) stripes just seemed so boring! 

What about PLAID! 

I painted the outside with ASCP in Old White then painted the inside with some craft paint.


Then I whipped out the painters tape and got busy!


I waxed and buffed it when all the paint was dry. I imagine that it will get banged up and loved on, but that is exactly what I made it for!

I think the final product was pretty cute


I think she liked it ;)

Dining Table

I've avoided doing this post for a while. You know when you do something and you like it, but you don't LOVE it? I have always loved how the top of this table turned out...the pedestal on the other hand was the first issue to tackle. But to truly start at the beginning you have to see what I started with.


I never realized how few pictures I had of my dining table before until I started looking for one to show you. This was the old butcher block table painted high gloss black and set for Thanksgiving dinner...a long time ago according to how small my son looks in the background. The living room is also a clue as to the date: no color on the walls, red curtains, and walking into the back of the sofa. Oh the mistakes I made on my way to finding my style.

A while back I did this post about making a coffee table out of this dining table because my father was cleaning things out and I wanted this table


I loved the table to bits, but the finish was disgusting and it was about 2 inches too short to sit at comfortably.  I also had the problem of finding chairs. The somewhat modern ladder back chairs in high gloss black just weren't doing it for me at this table. My husband wasn't going to buy new chairs though so that meant finding old chairs - sorry...vintage chairs ;) That will be a completely different post though because I'm still working on those.

I knew what I wanted to do to this table, I just had to find the time to do it! So I finally got started by striping the top.


This took 3 times to get down to the wood and then I had to sand it. I love that this table has a large crack in it, I love that my grandfather worked on this table and that it was in their house, I love that my father used it as an extra desk for a while, I am just totally emotionally attached to this table! Even more so now, after giving it a new life in my home.

Next came the staining


With that all finished up the pedestal was next. At first I painted it too white and used the wrong color glaze for it. It was nice but not great. So then I repainted it with Annie Sloan Chalk Paint in Old White and used clear and dark wax. Now I LOVE this table! It's exactly what I had in mind. I could not be more pleased!!!


The chairs were purchased over a few months and I love each chair. I thought I had an idea of how I wanted them and so I dove right in. My children changed my minds when they wrecked the upholstery so quickly. All the different colors on the chairs wont make sense with a different upholstery so they are being changed right now. Hopefully I will soon have the chairs complete and get them posted. For now though, the table is PERFECT and I'm so happy I have it in my home.


Shauna's Desk

When Shauna first asked me about doing this desk I was extremely excited, I mean the chance to work on an antique executive desk...who wouldn't be excited? I could see so many possibilities in my head. I hadn't seen the desk yet but in my head I was visualizing some sort of Craftsman or Victorian style greatness. When she delivered the desk to me, I loved it immediately. However, two things became quite clear to me: It was Art Deco gorgeousness and it was in a bit of disrepair. I've never before had a project come to me in pieces.


As I got to working on it I had to remove dried mud, spider webs with their inhabitants, and a wasp nest. Once it was clean I began to evaluate how much work actually needed to be done. The drawers were dovetail joints and almost all of them were loose. It was time to take apart, label, and re-glue.


Can I just say this type stuff drives me nuts...don't nail a dovetail please


Unfortunately, the drawer bottoms for the majority of the drawers disintegrated into nothing. So that added cutting new ones to the overall scope of work. So I took all the labeled pieces and went to dad's shop.

I spent over 7 hours in my fathers shop that day alone.


I sanded, glued, cut new bottoms, and clamped every single piece of every drawer. Then I had the desk bases almost completely repaired and assembled. I even had one of the drawer fronts stained as a finish had not been chosen yet.


This piece was missing, so I had to cut a new piece and my father came up with a clever way to install it. It took some chiseling and customizing but I finally got it together.


I had to rough up the new piece a bit...it was too perfectly square. A finish was chosen and I got to work. I new I loved the desk because of the intricate panel work and the carved wood drawer pulls. Those things take a really long time to paint, even for a fast painter. I have literally 35 pictures of all the different steps - I look through them in awe, but I won't bore you guys with all that. 

So, after 41 hours of labor (that's right 41!) the desk was finished! This is what Shauna ended up with. I think she loved it ;) 
Sweet Shauna is still settling into her new house and has things stacked around the room in these pictures. I promise you her house is incredible and looked fabulous just two days later, but I didn't have my phone with me then!


Couldn't you just swoon for the drawer pulls? This is yet another piece that I am envious of. One day maybe I will have a fabulous desk like this too, le sigh...

I know I know - I need to take better finished photos. But, I'm busy people! Summer has been insane this year. Most of that is due to me taking on too much - that is one thing I am totally consistent with...biting off more than I can chew. But that's how all of us creative people thrive right? Now on to the next project!


Wednesday, July 11, 2012

The Peacock Table

So a while back I saw this table in blog land and I just couldn't stop thinking about it. As soon as I saw it I wanted to do it. I've used a paisley fabric in just about every room in my house and so I was thinking I would go that direction. I pinned the table straight from this fabulous blog that I follow late one night only to wake up the next morning and find out that a TON of people on Pinterest apparently felt the same way I did. Which is fine, I mean I'm planning on copying it too right? The only thing is, I don't like having things exactly like everyone else. I want it to be slightly different and be totally me. Narcissistic? Maybe, but I have to love it and it has to go with the look I've poured blood sweat and tears into in my home.
Anyhow, a table fell into my lap via my husbands aunt. Free table - SCORE! Now to find a stencil that was me and hopefully just as cool as the paisley one. When this little empty sewing cabinet came along it was instantly going to be the peacock table. I had scoured websites and local shops looking for a peacock feather stencil I liked and that was the right size...it took a while! Everything finally came together though and I love the results. It fits in exactly how I wanted it to!


Like everything I've worked on recently, it needed some repair.


And some stripping...


And some careful sanding.


Then came the stenciling, which I discovered I'm bad at...


The staining which was awesome but took AGES to dry for some reason. Maybe because it's been humid lately, I don't know. I do know that can happen if your stain is too old - but mine was not.


In place but waiting for the poly to dry...I hate waiting!!!


All complete :) Now if only I had flowers for that antique little silver vase everything would be perfect!


Sunday, July 1, 2012

Dylan's Chest

I found this piece in a shop and snatched it up with the idea for what I wanted already in my head. I am currently working on probably the hardest project I've ever done right now, so I figured I would have to wait to work on this piece for my son. However, waiting for glue to dry drives me crazy and so while one project was glued, clamped, and drying I decided to start the "easy" project on the side...no problem, I can finish it quickly...
Famous last words.
This is the chest the day I bought it and lugged it home


I've wanted to stripe a piece for a long time and this seemed to be the perfect candidate. The top was in rough shape and I was seeing the piece with a stained top so I knew I was going to be making a new top for it...red oak


My son has loved airplanes since birth and the love seems to just grow every year. When he asked me to "Make his room nice like Jade's" I asked what he wanted. It seems to be the universal boy colors: reds, blues, chocolate, and creamy whites. I picked out a few fabrics and then we chose some paints. This is the blue we chose for a few accents so it seemed the best option to me for the stripes.


I got to work quickly one saturday and soon discovered it was going to entail a whole lot more than just painting it and making the new top.


So I spent 6 hours rebuilding the drawers and making new bottoms for them. Then I painted it Old White, taped it off, striped it, and waited. I had to wait to find the time to even go and build the top. So far the summer has not been what I would call relaxing. So it sat painted in my entryway for 2 weeks.


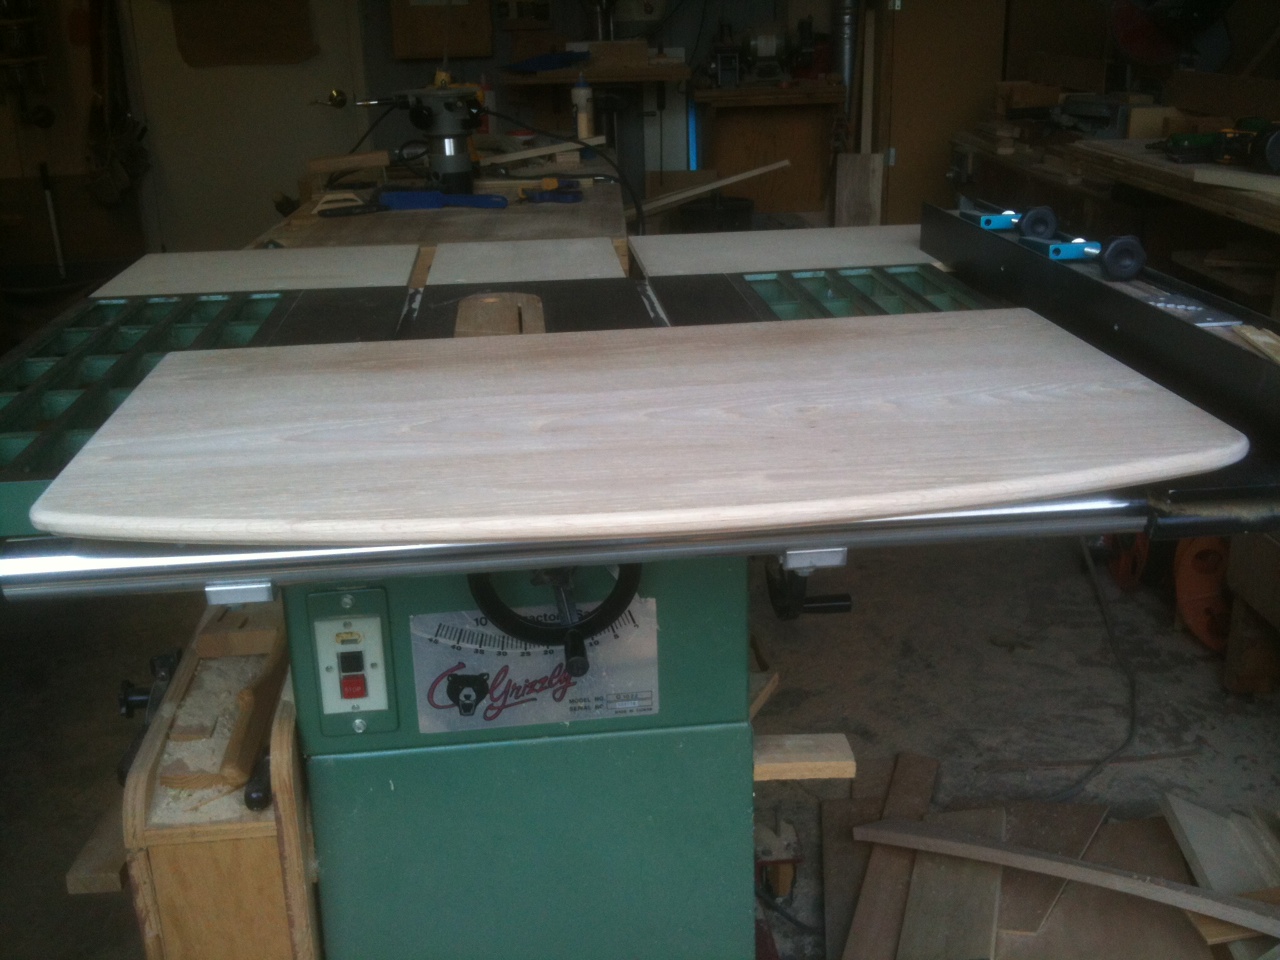
This is the red oak top cut from a 1"x8"x10' and put together with glue and biscuits.


Above is after the edge was routed and below is after the stain was applied


This is what I ended up with...yes, I jumped up and down and squealed like a 7 year old girl. I LOVE this piece. It might be my favorite!!!


Wednesday, June 20, 2012

Day 20

This one was hard for me. I have quite a few pictures that I have taken and I adore. Over Spring Break this year we went to see some of our best friends in Arizona. On the trip back we decided to stop at White Sands because our kids had never seen it. I was SICK!!!! Super sick, the kind of sick where you walk 5 feet and then cough for an hour and nearly pass out. But I decided to be a trooper and I wanted pictures of my kids playing. They ran off and left me though so I walked slowly and took some fun pics anyway. This one is probably the coolest thing ever! 

Day 20 - Fave Photo You've Ever Taken


I love how my foot prints look raised instead of being impressions. Just the right sunlight at the right time and I got lucky with a cell phone camera. No filters, no cropping - just luck. 

I did this in the first place because of a picture I took back in college when I was in a photography class. I had taken pictures of my footprints in freshly fallen snow with an old 35mm. I know I have the picture somewhere but I can't find it. My plan is to do it in mud too and then have all three framed and hang it in my future house in the mudroom...the present house is tiny and has no mudroom ;)

Of course I have a lot of favorites, I think those of us who seem to be passionate about all manor of things tend to have a lot of favorites. This is just the one I am choosing for today.