Sometimes when things get too busy you find yourself making mistakes or oversights. This was a HUGE oversight!!! I did a makeover on my friend Monica's kitchen. I didn't take good before pictures and I only took instagram snaps of the progress. When it was complete...there were dishwasher flooding issues, flooring being replaced, touch ups on cabinetry paint, and we were all so busy that we simply forgot to take any pictures! Then Monica's family moved. It happened so quickly and we were all excited and had a million other things on our minds. We were not exactly thinking of taking pictures of the kitchen so I would have a great blog. So, jump ahead to when I'm trying to put together a post about said kitchen and I have had to research to find pictures. I looked everywhere. Monica didn't have any, plus with her being a
photographer I can't imagine what it is like to search for pictures on her computer...seriously, that is like trying to do calculus for me. I get a headache just thinking about it!
I feel like Sookie when it comes to math:
On a side note, how many of you are so excited about the new Gilmore Girls coming to Netflix in November? I cannot wait!!!
Back to the kitchen...Monica and our friend Molly finally found the real estate pictures of the finished kitchen (it takes a village). I have no clue who took the pictures, but I stole them so I could show off my work!
Before (pictures from old real estate ad):
The peninsula in the old layout severely limited the amount of dining space in this kitchen. Monica's husband and father-in-law removed this pretty early on after they were in the house. When you have a large family, the dining space just needs to work better for you!
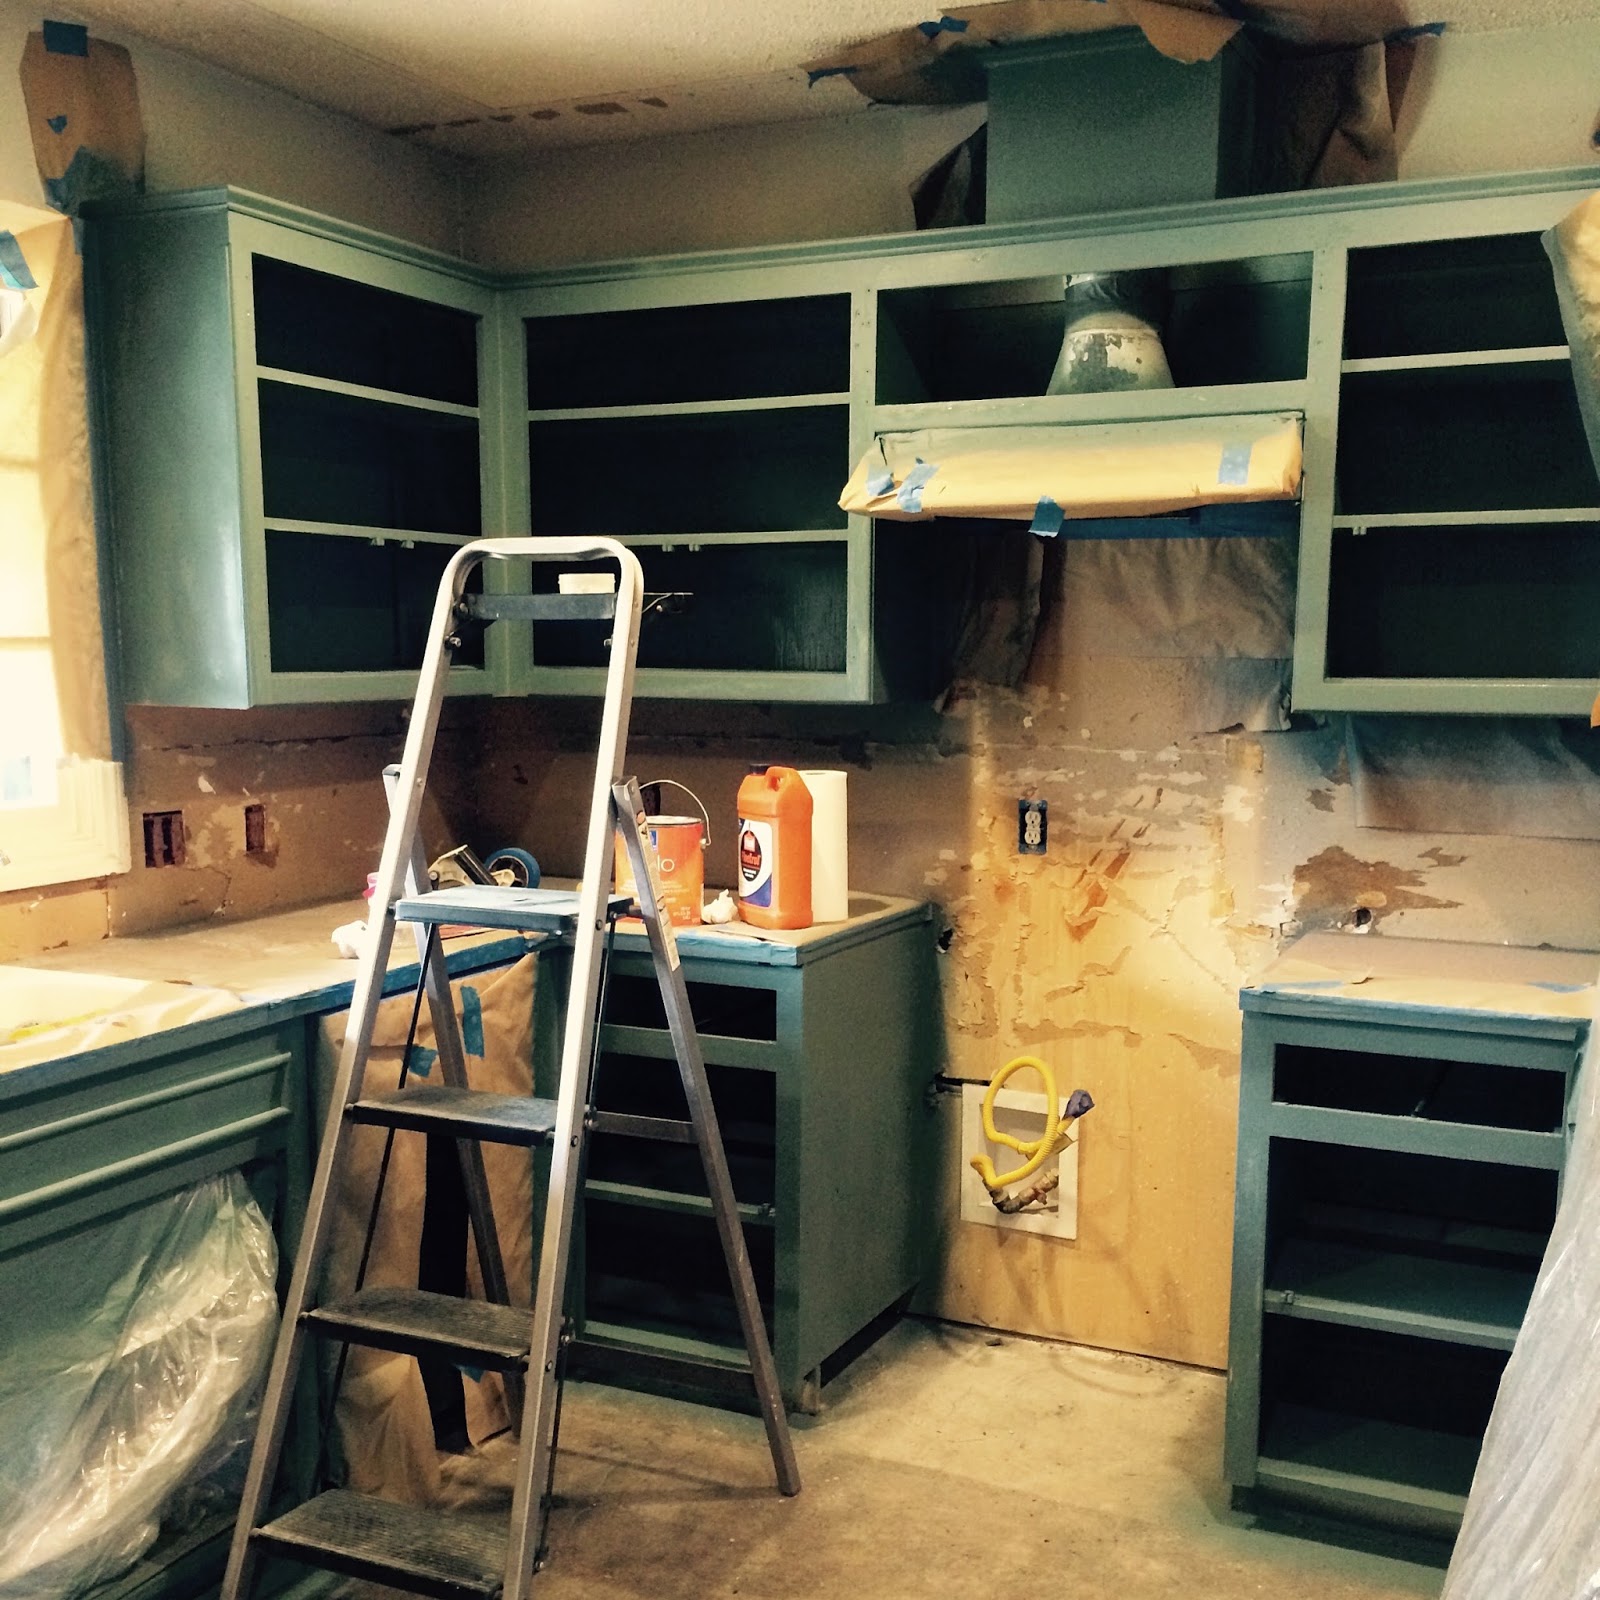
In Progress (pictures by me):
They had the countertops refinished
New flooring installed:
While the counter top people and flooring people were busy, I had all of the doors and drawers back at my place and was busy painting away!
Drawers and drawers everywhere! My garage, my hallway, and even my living room. Hey, at least they matched my living room ;)
Now it was time for me to start on the backsplash:
Finally we had a finished product!
(pictures from most recent real estate ad):
This kitchen turned out so cute! That backsplash people!!! It is still one of my favorite things I've ever done! So lovely!!!